
The Best Fluffy Pancakes recipe you will fall in love with. Full of tips and tricks to help you make the best pancakes.
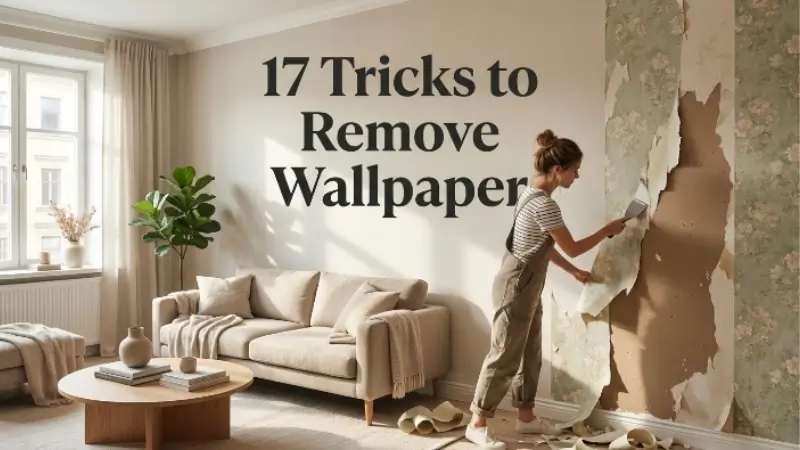
17 Expert Tricks on How to Remove Wallpaper Like a Pro

Old wallpaper has a way of hanging around long after you stop liking it. Maybe you just bought a house and the last owner had a taste for busy floral prints. Maybe your own style changed and that accent wall from five years ago now makes you cringe every time you walk past it. Whatever the reason, taking wallpaper down is one of those jobs that looks simple until you actually start peeling and realize half of it is stuck to the wall like it was glued there with cement.
The good news is that removing wallpaper does not have to be a weekend long battle. With the right tools, a little patience, and a few tricks that professional painters and paperhangers swear by, you can strip a room clean and get it ready for paint or new paper without tearing up your drywall in the process.
Here are 17 tricks that actually work, broken down so you can follow along even if you have never done this before.
1. Figure Out What Type of Wallpaper You Are Dealing With
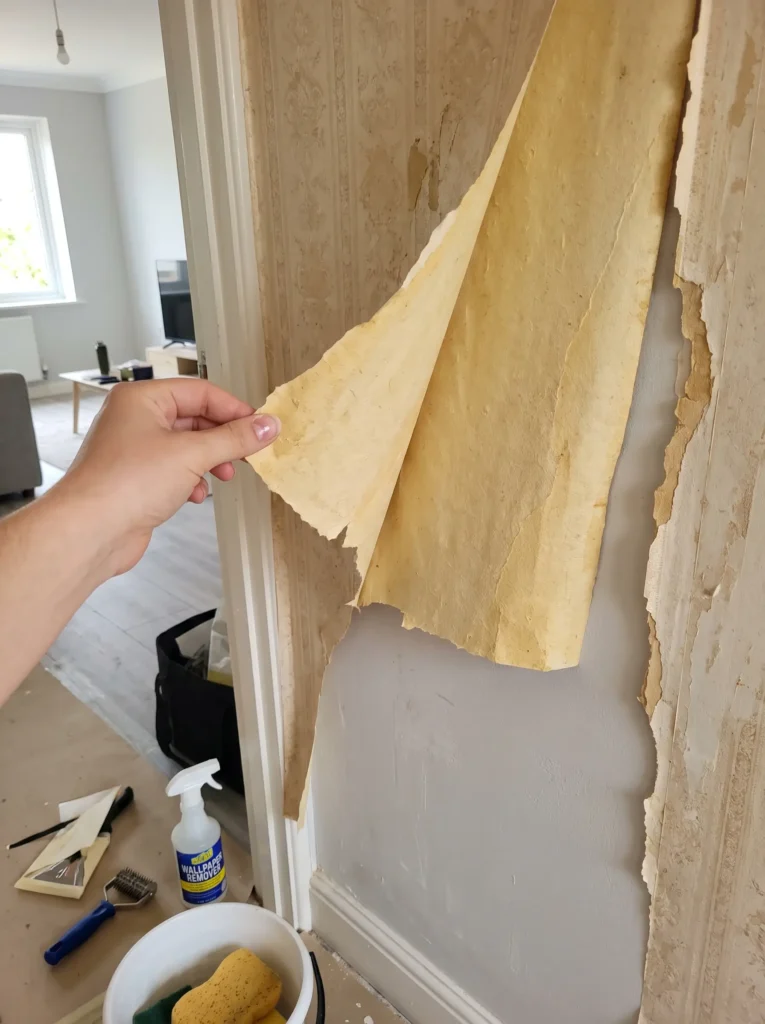
Before you grab a scraper, take a minute to identify the wallpaper itself. Strippable wallpaper peels off in large sheets with almost no effort. Peelable wallpaper leaves a paper backing behind that needs a separate removal step. Traditional pasted wallpaper is glued directly to the wall and usually needs water or steam to loosen it up.
Try lifting a corner near a seam with your fingernail. If a full sheet comes away cleanly, you got lucky and this job just became a lot easier.
2. Test a Small Section First
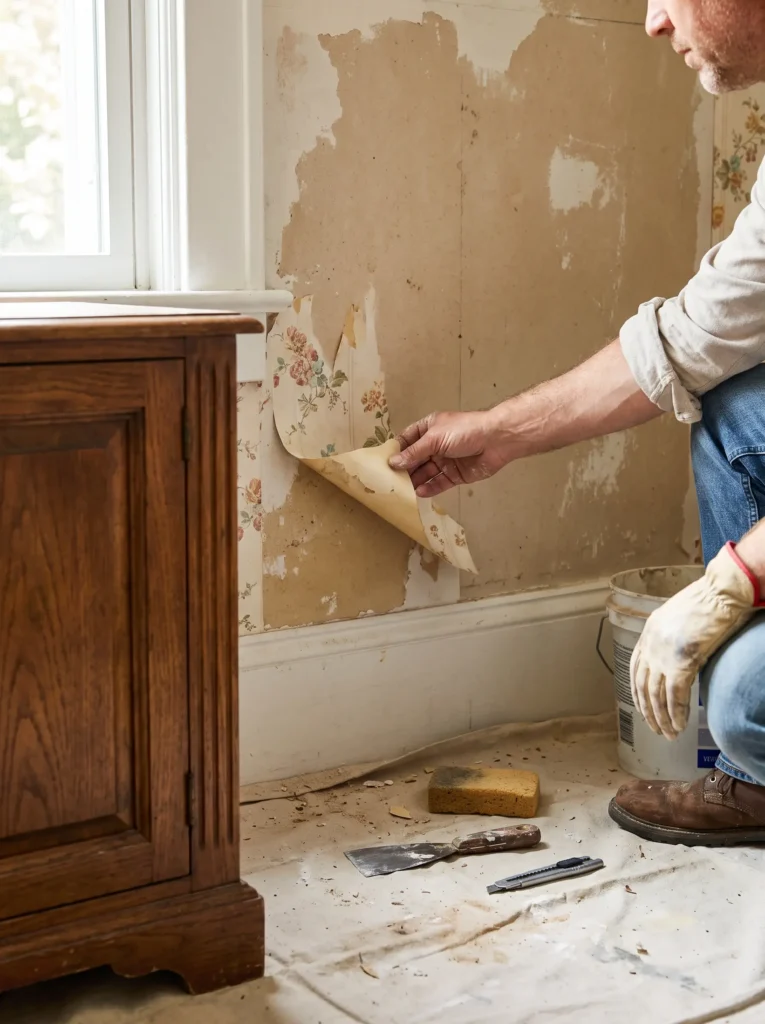
Do not commit to a method across the whole room right away. Peel back a small patch in a corner or behind furniture to see how the paper behaves and how the wall underneath looks. This tells you if the drywall is in good shape, if there is old paint under the paper, and how stubborn the adhesive really is.
3. Protect Your Floors and Furniture
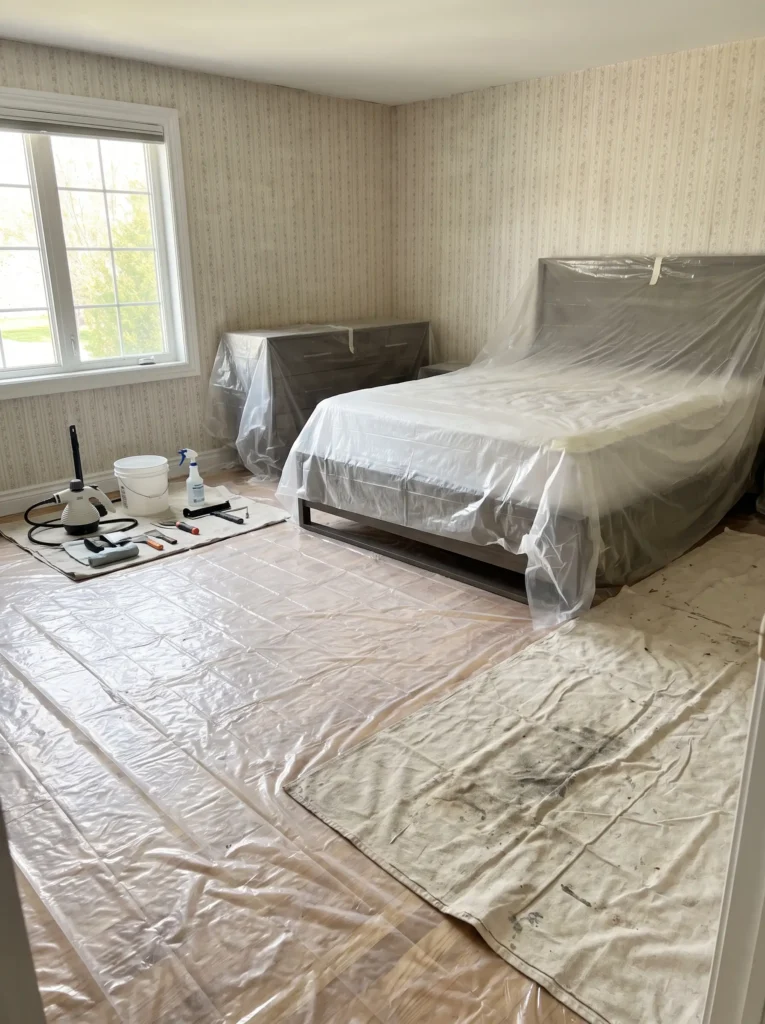
Wallpaper removal gets messy fast, especially if you are using water or a steamer. Lay down plastic sheeting or an old drop cloth and tape the edges down so they stay put. Move furniture out of the room if you can, or push it to the center and cover it.
4. Turn Off the Power to the Room
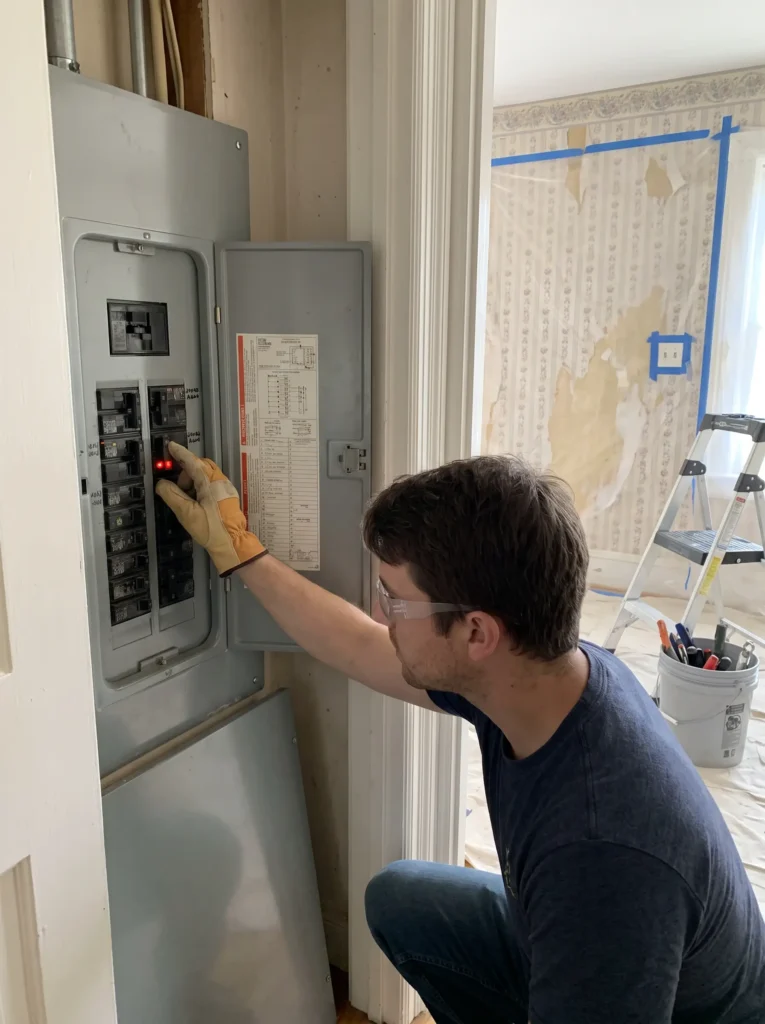
If your walls have outlets or switches, flip the breaker for that room before you start spraying water anywhere near them. This is a simple step people skip and it can turn a home improvement project into an emergency room visit.
Read More: 20 Apartment Hacks That Make Your Home More Functional
5. Score the Surface Before Applying Water
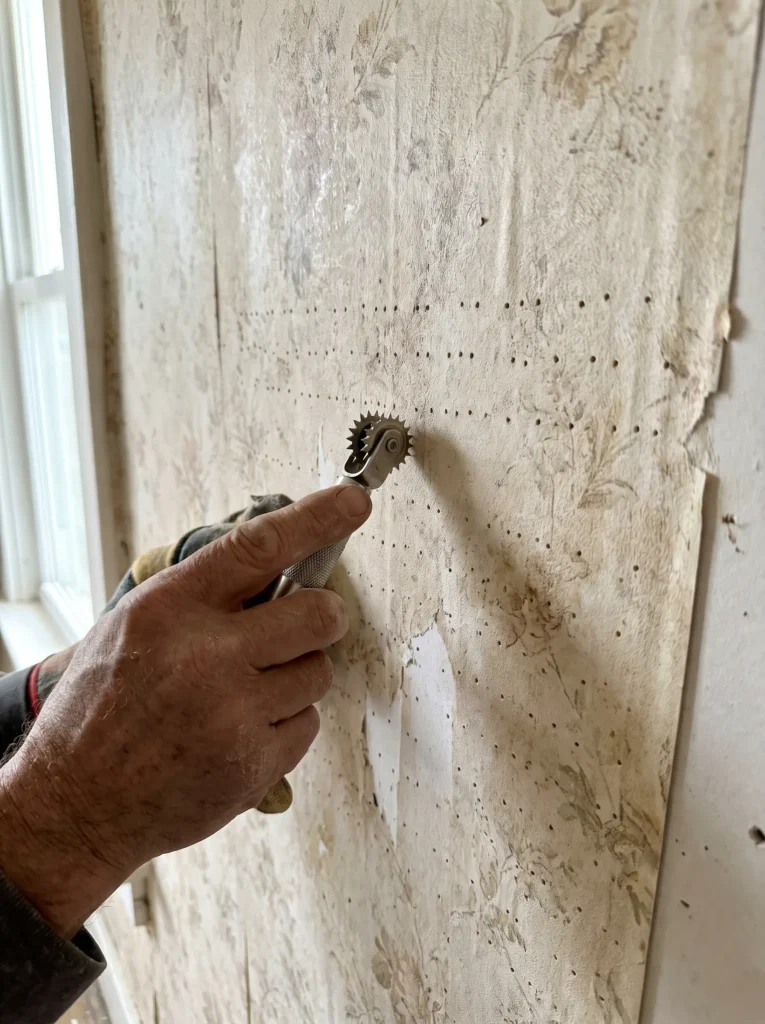
For wallpaper that is not peeling on its own, a scoring tool makes a real difference. Running it gently over the surface creates tiny perforations that let water or stripping solution soak through the top layer and reach the glue underneath. Just be careful not to press too hard, since digging into the drywall itself creates extra repair work later.
6. Use Hot Water and Fabric Softener as a Homemade Stripper
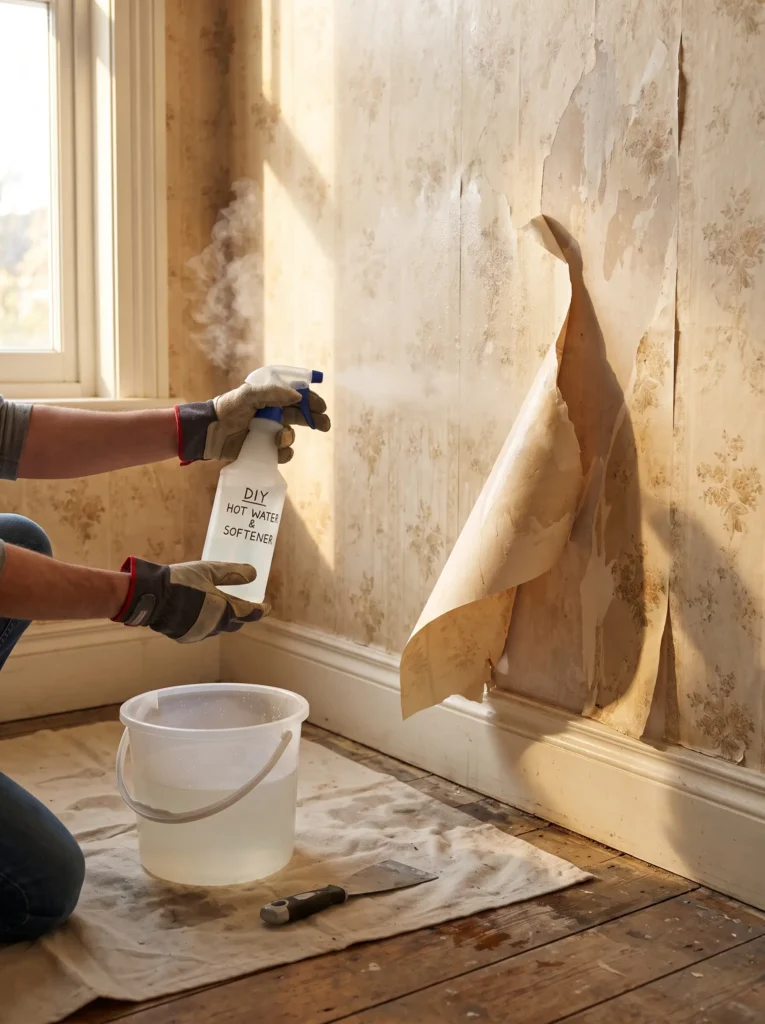
You do not always need a store bought chemical remover. Mix hot water with a splash of fabric softener or dish soap in a spray bottle and apply it generously to the wallpaper. The mixture breaks down the paste and softens the paper so it lifts away more easily. Let it sit for ten to fifteen minutes before scraping.
7. Try a Vinegar and Water Solution for a Natural Option
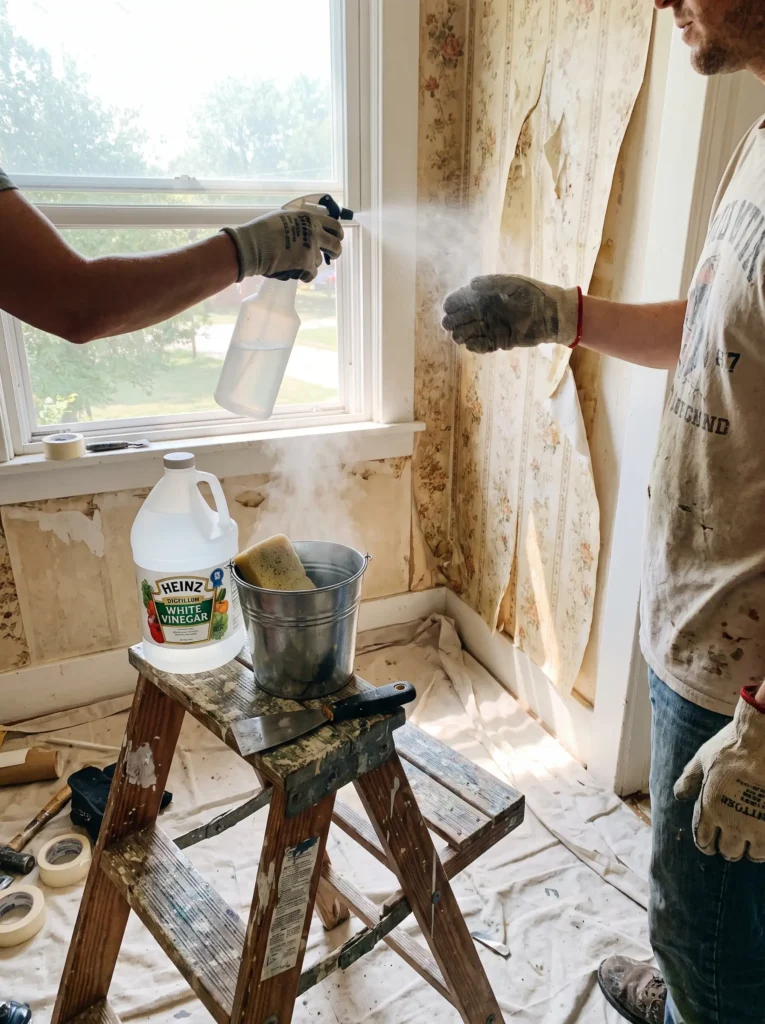
If you prefer to skip chemicals altogether, equal parts white vinegar and hot water work surprisingly well. Spray it on, give it time to soak in, and the acidity will start breaking down the adhesive. It smells strong for a few minutes but the odor fades quickly once the room airs out.
8. Rent or Buy a Wallpaper Steamer for Stubborn Jobs
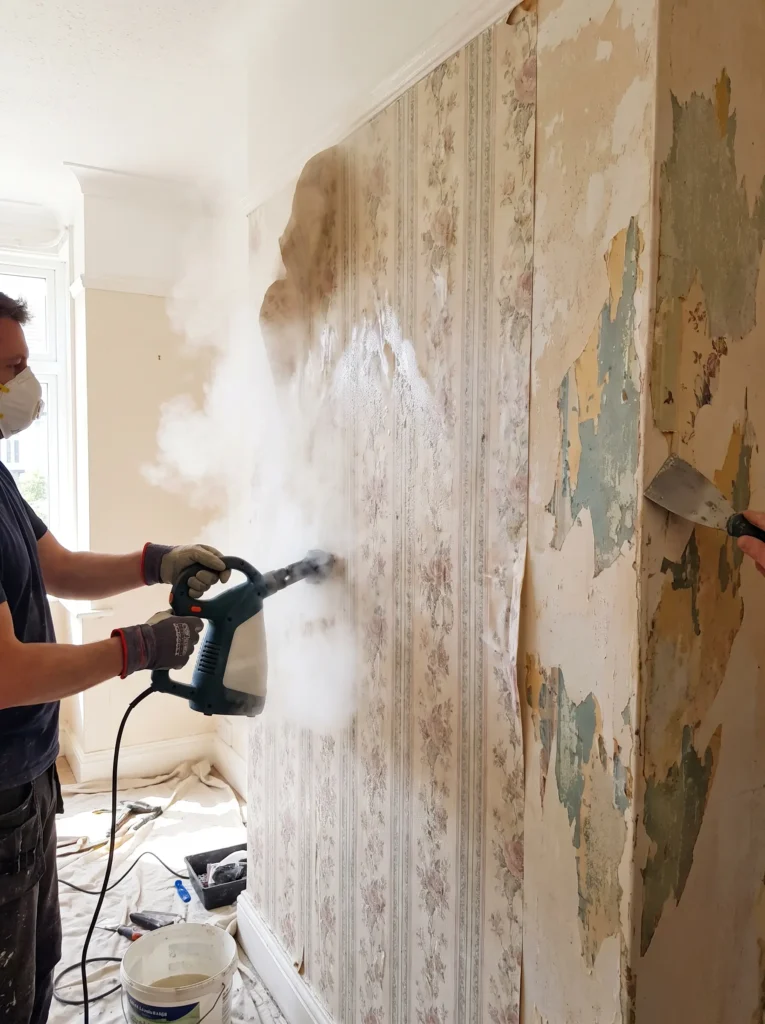
For older homes with multiple layers of paper or paste that has bonded hard to the wall over decades, a steamer is worth the investment. Hold the plate against the wall for a few seconds to loosen the glue, then move to the next section while you scrape the area you just steamed. This method takes patience but it works on almost any type of wallpaper.
9. Work in Small Sections
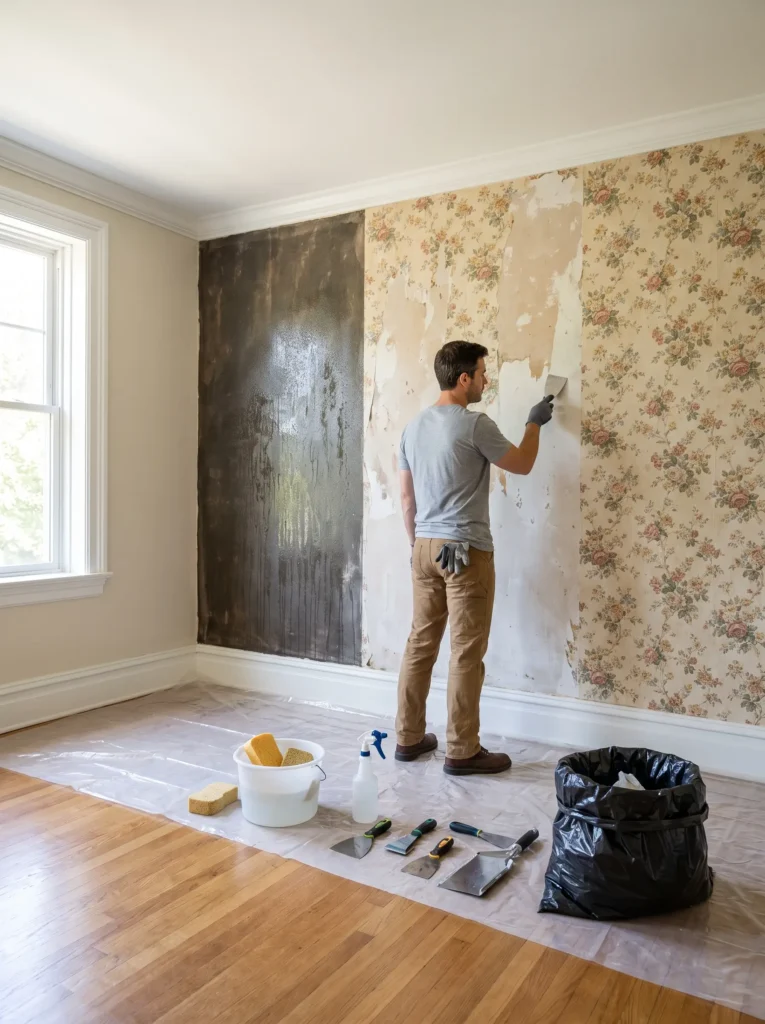
Trying to soak an entire wall at once usually backfires because the water dries out before you get to scraping it. Break the wall into sections about three feet wide, apply your solution, let it sit, then scrape before moving to the next patch.
10. Use a Plastic Scraper Instead of Metal When Possible
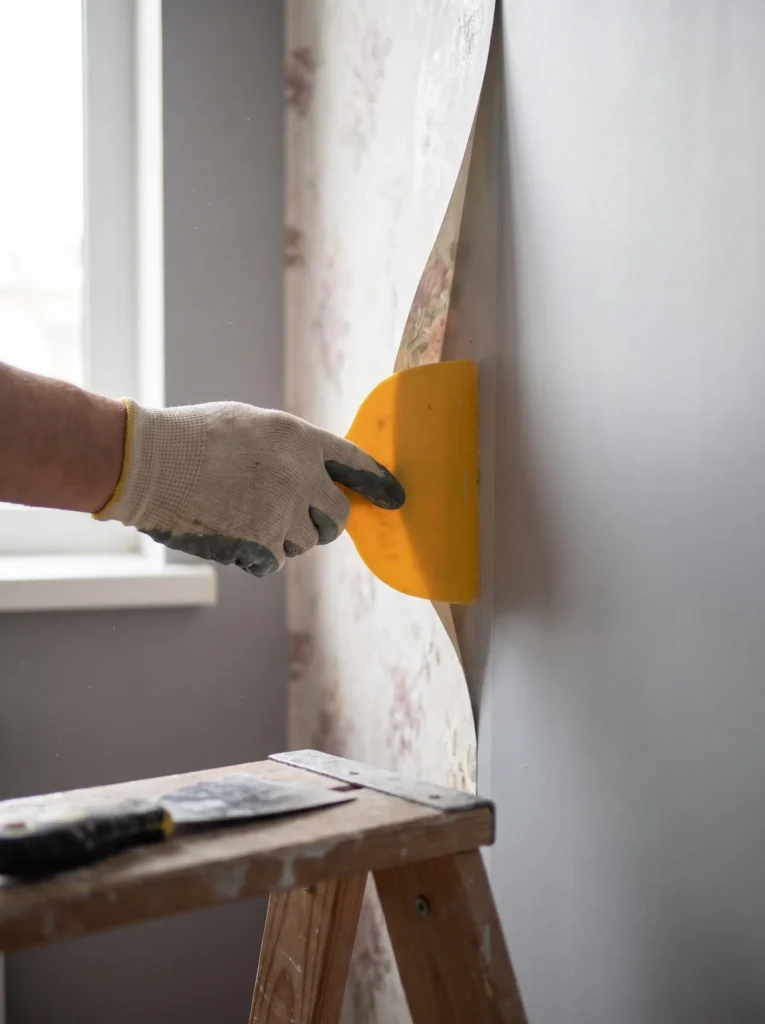
Metal scrapers work faster but they carry a real risk of gouging the drywall underneath, especially on textured or softer walls. A plastic putty knife or a dedicated wallpaper scraper gives you enough leverage to lift the paper without cutting into the surface beneath it.
11. Hold the Scraper at a Low Angle
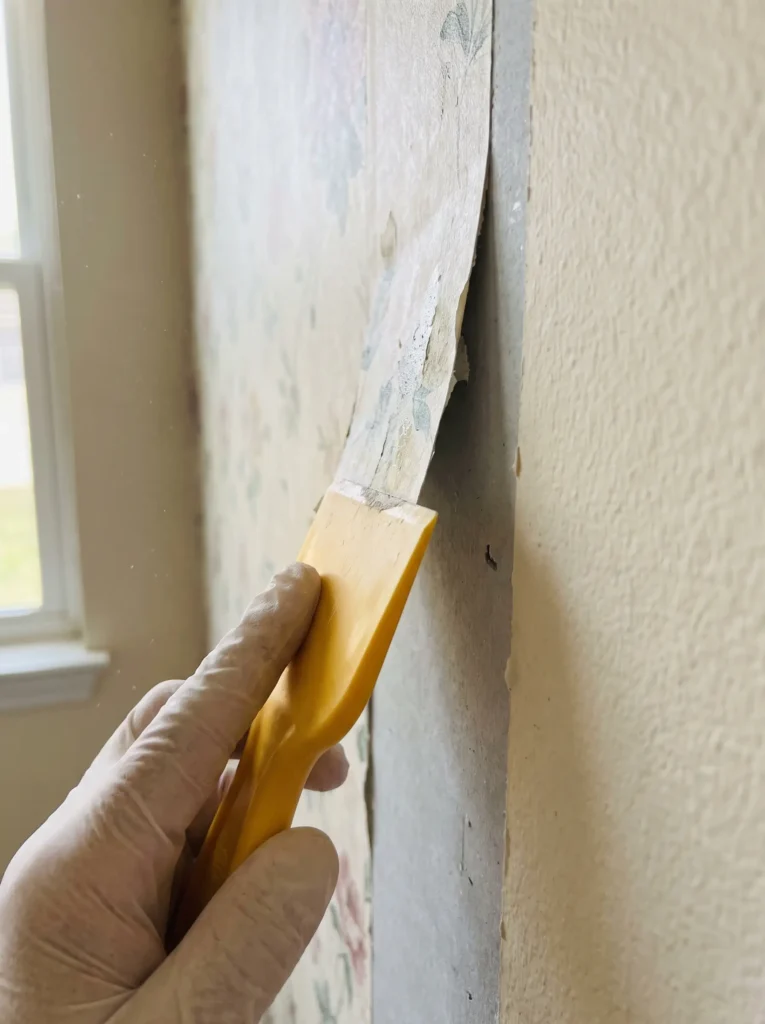
Angle matters more than pressure. Keep your scraper almost flat against the wall, around fifteen to twenty degrees, and push forward in smooth strokes. A steep angle is what usually causes damage, not the tool itself.
Read More: 23 Modern Apartment Decor Ideas That Feel Cozy Minimal
12. Reapply Solution to Areas That Are Not Cooperating
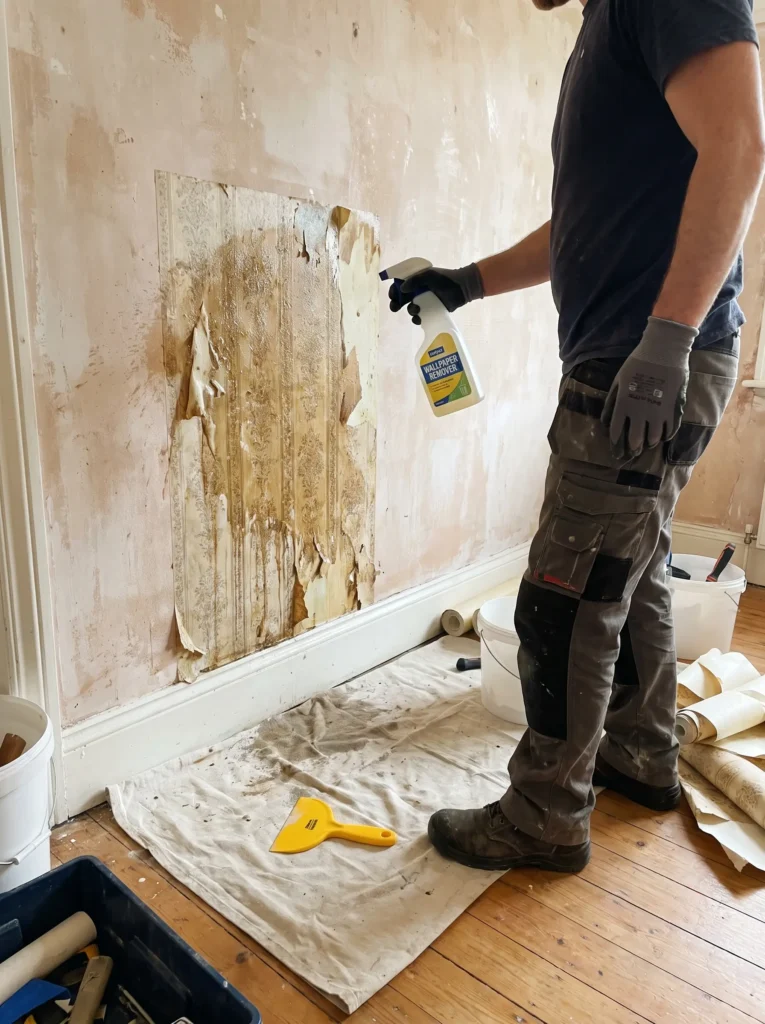
Some sections just do not want to let go, and that is normal. Instead of forcing it and risking wall damage, spray that patch again and give it another ten minutes before trying once more. Repeated soaking almost always beats brute force.
13. Deal With the Backing Paper Separately
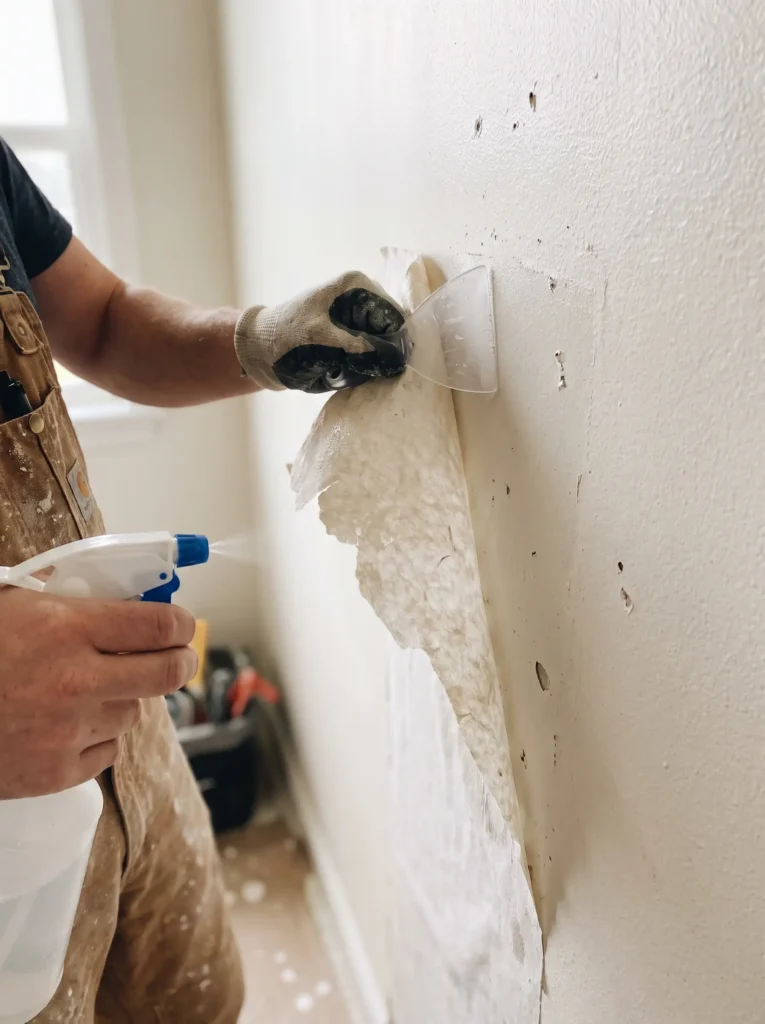
Peelable wallpaper often leaves a thin paper layer stuck to the wall after the top vinyl comes off. Do not skip this step thinking it will be fine under paint, because it will bubble and peel later. Treat this backing layer the same way you treated the top layer, with water or solution and a gentle scrape.
14. Watch Out for Plaster Walls
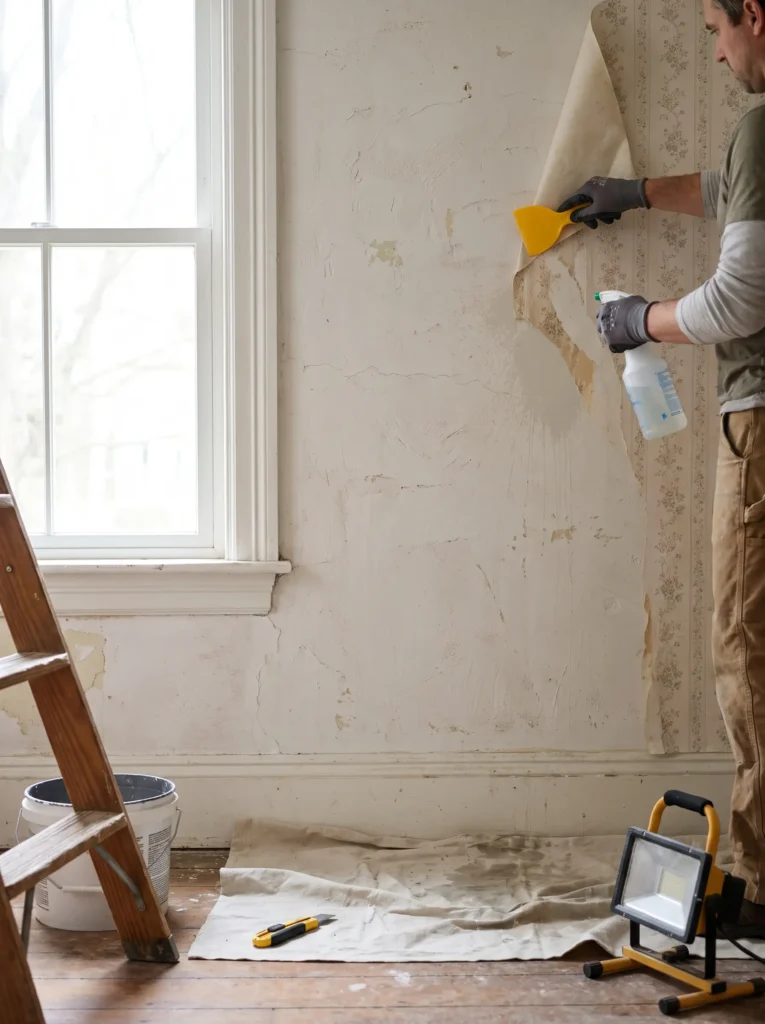
Older homes with plaster walls need extra care. Plaster can absorb water differently than drywall and it is more prone to cracking if you scrape too aggressively. Use less water at a time and check the wall condition often as you go.
15. Wash the Walls After the Paper Is Off
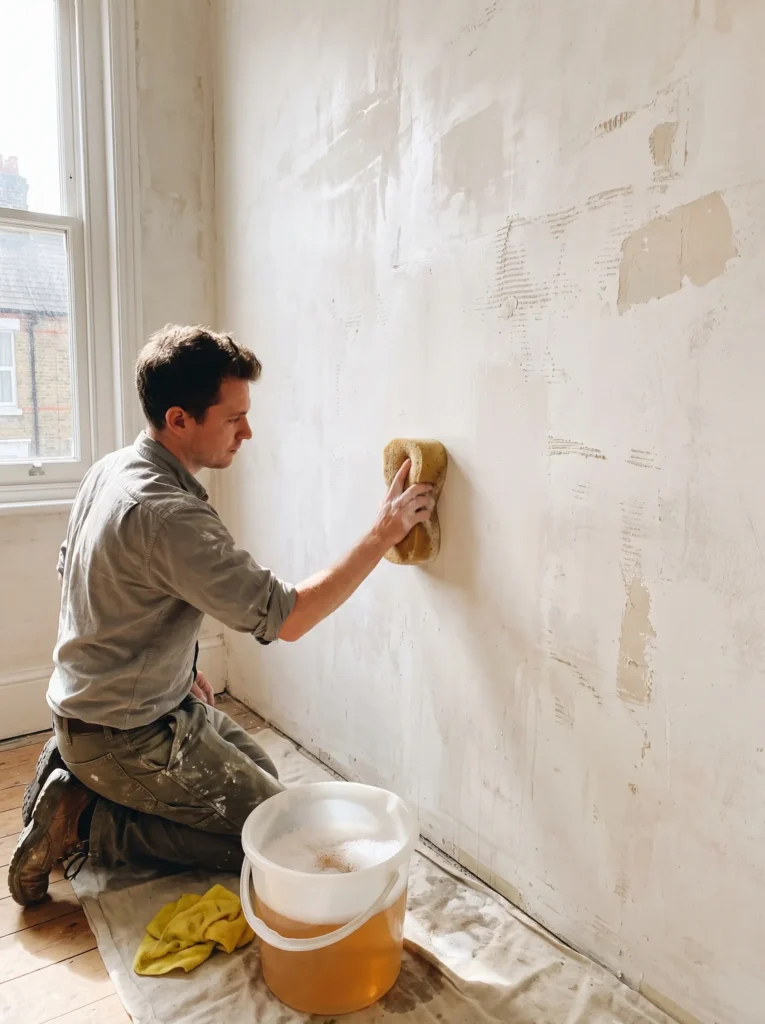
Once all the paper and backing are removed, wash the walls with a mixture of warm water and a small amount of dish soap to remove any leftover paste residue. Skipping this step is a common mistake, because dried glue left on the wall can cause new paint or paper to fail to stick properly.
16. Let the Walls Fully Dry Before Doing Anything Else
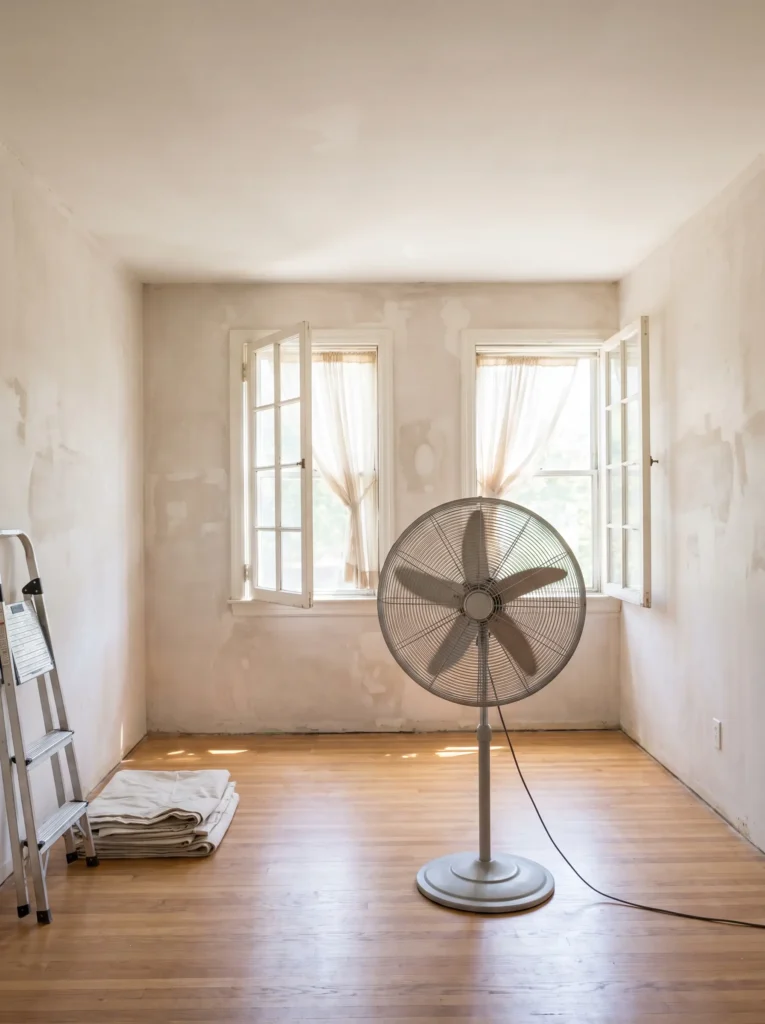
Give the room at least twenty four hours to dry completely before painting or applying new wallpaper. Rushing this part traps moisture behind your new surface, which leads to bubbling, peeling, or even mold down the line.
17. Patch and Sand Before You Paint or Repaper
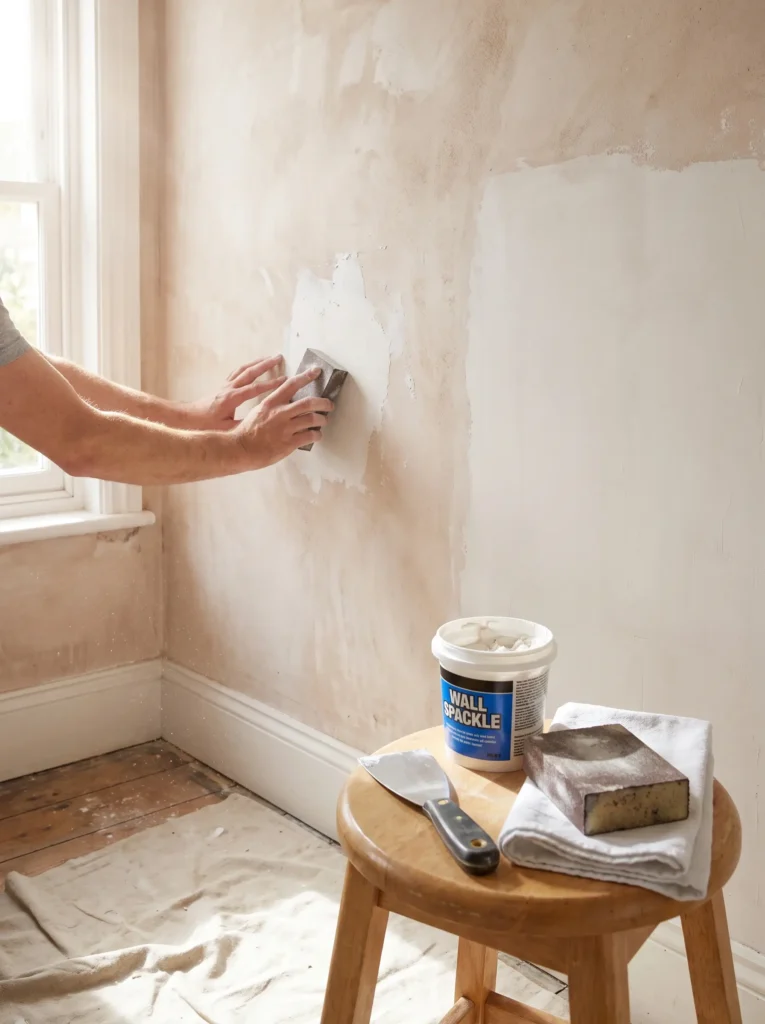
Once the wall is dry, inspect it closely under good lighting. Small gouges, nail holes, or rough spots are common even with careful work. Fill them with spackle, sand smooth once dry, and wipe away the dust. This final prep step is what separates an amateur looking finish from one that actually looks professional.
Common Mistakes to Avoid When Removing Wallpaper
A few habits tend to cause more harm than good. Skipping the test patch, using too much force with a metal scraper, rushing the drying time, and ignoring the leftover paste are the most frequent reasons people end up with damaged walls or paint that fails within a few months. Slowing down and following the steps above in order saves you time overall, even though it feels slower in the moment.
How Long Does It Take to Remove Wallpaper
For a single average sized room, most people finish in a single day, somewhere between four and eight hours depending on how stubborn the adhesive is and how many layers of paper are on the wall. Steaming jobs and older homes with multiple layers can stretch across a weekend.
Final Thoughts
Removing wallpaper is not glamorous work, but it does not require special skills either. What it really needs is the right prep, the right solution for your specific type of paper, and a willingness to work in small sections rather than rushing the whole wall at once. Follow these 17 tricks and you will end up with clean, damage free walls that are ready for whatever you want to do next, a fresh coat of paint or a brand new print you actually chose yourself.